
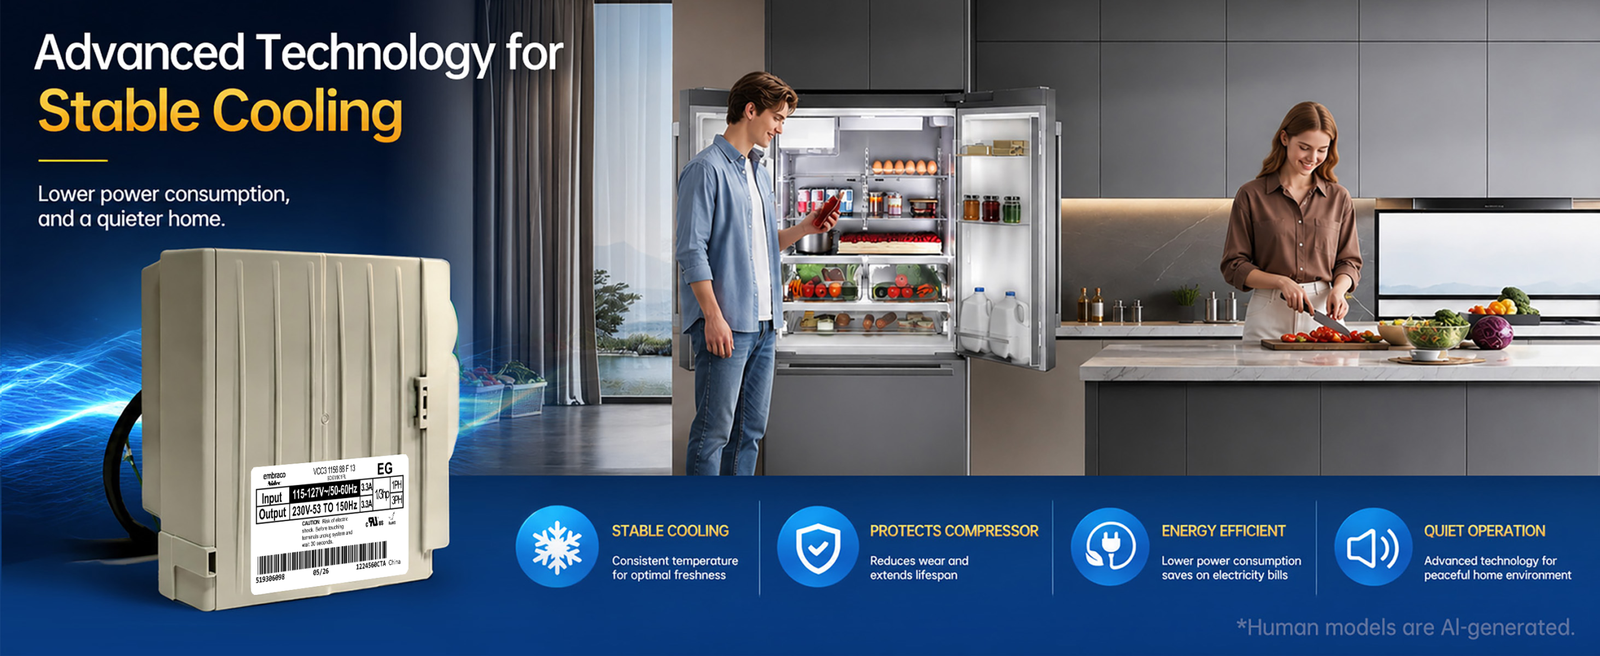
Embraco Fullmotion Compressor Inverter Repair
Variable speed compressors, specifically the Embraco Fullmotion series, have become the industry standard for modern, energy-efficient refrigeration. The heart of this system is the frequency inverter (controller). When this electronic component fails, restoring the appliance requires precise identification and replacement of the inverter module.
As an independent appliance parts specialist, we’ve compiled this technical breakdown based on Embraco’s factory recommendations to help you successfully swap out a damaged inverter safely and correctly.
- Isolate Power: Completely disconnect the appliance from the wall outlet or shut off the circuit breaker before performing any diagnostics or physical service.
- Verify No Voltage: Double-check that the system is entirely depowered.
- NO DIRECT STARTING: Never attempt to energize an Embraco Fullmotion compressor with direct line voltage (bypassing the inverter). Applying direct voltage will permanently destroy the compressor motor.
Part 1: Specifying Your Replacement Inverter
Before purchasing a replacement, you must match two critical operational parameters from the original inverter label: Voltage and Control Signal. Four “universal” inverter models have been developed by the manufacturer to service the entire range of domestic refrigeration units, but you still must select the correct one.
1. Matching the Input Voltage
Check the electrical label on your original inverter. A 115V system requires a 115V inverter, and a 220V system requires a 220V inverter. The replacement must share the exact input voltage features as the factory original.
2. Verifying the Control Signal (Drop-In vs. Frequency)
Your refrigerator’s main control board communicates with the inverter via a specific control signal. To ensure proper modulation, locate the precise Embraco VCC code printed on the secondary sticker of the damaged inverter. You will cross-reference this specific alphanumeric code against standard compatibility charts to determine if your system utilizes a Drop-In or Frequency signal.
Part 2: Removing the Damaged Inverter
Once you have verified the power is off, follow these steps to extract the faulty controller:
- Access the Module: Remove the inverter housing cover to expose the internal electronic circuit board and electrical connections.
- Disconnect the Harnesses: Carefully unclip and detach the three primary wire harnesses: the main power harness, the signal/communication harness, and the grounding wire harness.
- Detach from Compressor: Release the primary plug connecting the inverter directly to the compressor terminal block.
- Unmount the Unit: Remove any retaining screws or mounting clips, and completely extract the damaged inverter from the refrigerator’s mechanical compartment.
Part 3: Installing the New Inverter
Installing your exact-match replacement requires careful cable management and secure mounting to prevent vibration.
- Secure the Hardware: Attach the new inverter to the system using the factory attachment points. Technical Note: If the original inverter was mounted directly onto the compressor shell, ensure the new unit is seated as tightly as possible to prevent excessive movement or vibration chatter during normal compressor operation.
- Open the Connections: Remove the protective cover from the new inverter to access the terminal ports.
- Reconnect the Harnesses: Plug in the power harness, the signal harness, and the grounding harness. Ensure every connector clicks firmly into place to prevent arcing or signal drops.
- Cable Management: Route the wires cleanly into the inverter housing’s designated channels. This prevents the cables from being pinched when the cover is installed.
- Final Assembly: Mount the side cover to enclose the electrical connections and drive the retaining screws back into place.
Supported Embraco VCC3 Frequency Inverter Models & Cross-Reference Index
Whether you are performing localized repairs or sourcing parts globally, matching the exact controller software and hardware version is vital. The guide above applies to the replacement of the following Embraco variable speed inverter models (commonly found under the VCC3 1156 family nomenclature):
* If your existing inverter’s code matches any entry in the list above, follow this standard factory protocol to execute the replacement securely and efficiently.