
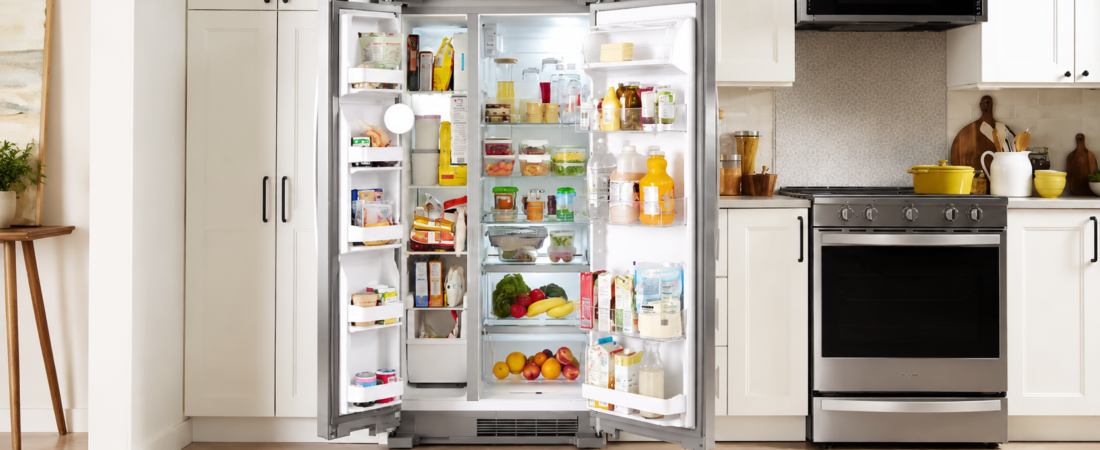
How to Replace the LED Light Assembly (W11470191 / W11048980) in Your Whirlpool Refrigerator
Opening your refrigerator only to be greeted by darkness is a hassle. If the top LED light assembly in your Whirlpool or KitchenAid fridge is flickering or dead, you can easily fix it yourself. This manual provides a practical, step-by-step guide to removing the old recessed module and installing a new replacement.
Product Information & Compatibility
- Parts Name: Fridge Top Lamp / LED Light Assembly
- Primary Parts No.: W11048980, W11470191
- Compatible Appliance: Refrigerator
- Supported Host Models:
Fits Whirlpool WRQA59CNKZ (Counter Depth 4 Door Refrigerator – 19.4 cu. ft. 36in Wide) and KitchenAid KRQC506MPS00. - Replace Parts Information:
The current generation part W11470191 directly replaces earlier production numbers including: W11048980, W11455230, W11032355, W11032353. - Cross-Reference SKUs: 4978613, EAP16218118, FIX16218118, OEM27959970, PS16218118, AWP45052, PD00084353.
Tools Required
You don’t need to be a professional technician to swap out this light. Just grab a few basic items from your toolbox:
Service should generally be performed by authorized service technicians. Please review all of this product’s literature, including all safety warnings and any associated Job Aids, before performing service on the appliance.
Disconnect power before servicing. Replace all parts and panels before operating. Failure to do so can result in death or electrical shock.
Installation Steps
Disconnect Power: Ensure the refrigerator is completely disconnected from the power source. Unplug it from the wall, or shut off power at the circuit breaker for safety.
Read the Manual: Carefully read all relevant product documents and safety warnings before proceeding.
Inspect the Frame: Take a look at the plastic trim ring around the light. Confirm that the frame is designed with retaining snaps spaced roughly every 1.5 inches.
Use a Removal Tool: Gently slide your panel removal tool, thin flathead screwdriver, or putty knife under the flush-mounted frame to pop it out. Carefully pry the frame open inch by inch all the way around. Take care not to scratch the plastic frame or the inner lining of the fridge.
Clear Your View: Pull out or lower the upper refrigerator shelf if needed to get a clear view of the light assembly and its snaps.
Remove Screws: Locate any retaining screws on the clear cover (usually two) and unscrew them using your Phillips-head screwdriver.
Unlock Snaps: The clear cover is further secured by two locking tabs or snaps. Release them by pulling down from the front edge first, then pull the cover free.
Unlock Internal Snap: The LED module itself is secured inside the housing with another snap.
Carefully Remove: Unclip the old W11048980 LED light module from its housing. Disconnect the wire harness plug. Make sure you don’t aggressively yank the wires to avoid damaging internal components.
Install New Light: Plug the wire harness securely into the new W11470191 / W11048980 LED assembly. Snap the new light module into the housing slot inside the clear cover.
Reinstall Clear Cover: Push the clear cover back up. Ensure it is correctly aligned, re-lock all snaps, and reinstall the screws you removed earlier.
Reinstall Frame: Carefully reattach the outer trim frame to the refrigerator ceiling. Push it back into place, ensuring all the 1.5-inch snaps are correctly locked in until it sits completely flush.
Check Installation: Give the area a quick visual check. Ensure all parts and panels are correctly installed, with no loose or unlatched pieces.
Restore Power: After confirming the assembly is properly installed, restore power to the refrigerator. Open the doors to test the new light!
Real Repair Stories from Our Customers
Still on the fence about doing this yourself? Here is how other appliance owners handled this exact repair using our parts.
“My refrigerator main light stopped working. This is a recessed LED light with no obvious way to remove it. I looked up the part, ordered it, and when the assembly arrived I was able to see how it came off. With 2 putty knives and a Phillips head screwdriver, I completed the repairs. The putty knives slide in around the outer rim of the trim and you slowly pop the trim out all the way around. The light itself was very easy. With the refrigerator unplugged, you unplug the old light and plug in the new one. Then just reverse the process.”
“Internal light stopped working. Removed the trim ring, unscrewed the light module, unplugged the cable. Replaced it with the new one in reverse sequence. Very easy repair with just a screwdriver.”
“LED light repair went smooth. Simple fix with a basic screwdriver.”